RosetteSep™ Immunodensity Cell Isolation Starting Guide: Tips & Tricks
Isolating highly purified, viable, and functional cells directly from whole blood can significantly reduce sample handling time and improve your workflow. RosetteSep™ is a fast and easy immunodensity procedure that allows you to isolate untouched cells by incorporating cell subset isolation into established density gradient centrifugation protocols.
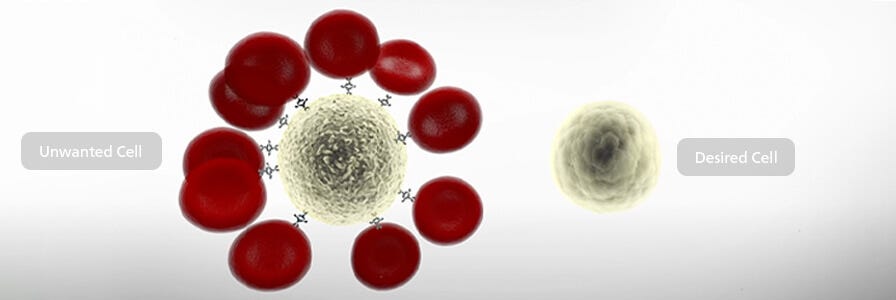
RosetteSep™ technology crosslinks unwanted cells to red blood cells (RBCs) present in the sample to form “immunorosettes.” When the sample is centrifuged over a density gradient medium, the immunorosettes pellet, leaving highly purified cells at the interface between the plasma and the density gradient medium.
This tech tip will guide you through key considerations and important steps to get you familiar with RosetteSep™ cell isolation products. Understanding and being aware of these key considerations and tips will help you ensure successful cell isolation.
RosetteSep™ Kit Storage & Shelf Life
How to Store Your RosetteSep™ Kit Components
It is important to follow the storage instructions included with your RosetteSep™ kit to ensure the reagents perform as expected.
- Check the storage condition of the products upon receipt. Review the “Component Descriptions'' table in the Product Information Sheet (PIS) of your specific kit to confirm the recommended storage of each individual component. You can find the PIS for your product here.
- RosetteSep™ cocktails should be stored at 2 - 8°C.
- Use a cold room or fridge to store products at 2 - 8°C. If the product is stored in a fridge, it should be placed either inside of a drawer, or in the middle of the fridge where it is protected from temperature fluctuations. Do not place the kit toward the back or close to the wall of the fridge as this may lead to accidental freezing, which can compromise the integrity of the reagent(s).
Check Expiration Date
ALWAYS check the expiry date of the product before starting your experiment. Performance of expired kits and/or kit components cannot be guaranteed. If the kit has expired, the product should be discarded and a new kit should be purchased.
Tip: To prevent setbacks in your research, include a step to record reagent expiry dates while planning your experiment and going through your list of needed materials.
Optimize Your Sample Preparation Process
Choosing the Right Kit for Your Sample
- The performance of our RosetteSep™ cocktails has been optimized for specific types and sources of samples, as indicated in the corresponding PIS. For most kits, the performance has been optimized using whole blood or buffy coat from healthy donors; however, exceptions may apply.
- To ensure the compatibility of a kit with a starting sample, always refer to the “Sample Preparation” section in the PIS of the kit of interest (see the example below). If a kit is used with a sample type not listed on the PIS, the performance may be suboptimal. In some instances, alternative options or optimization may be available; contact us at techsupport@stemcell.com for any assistance.
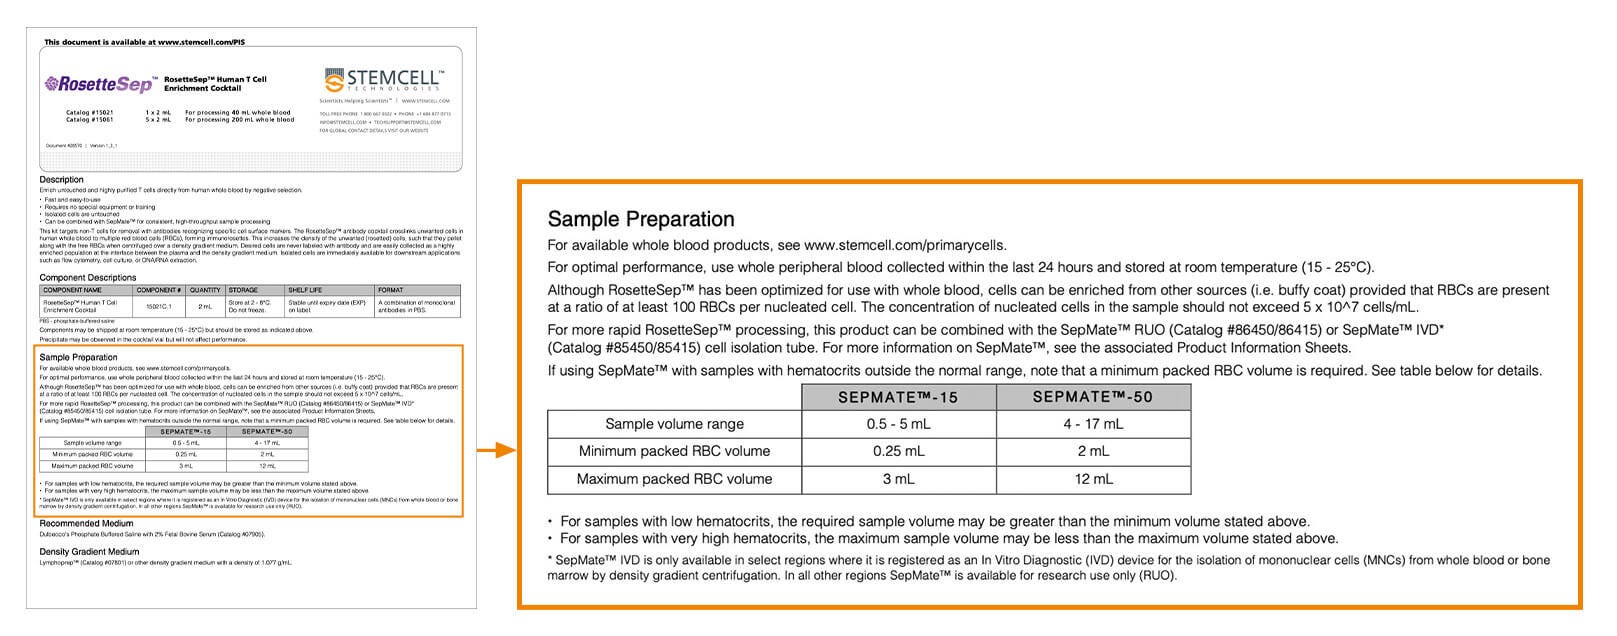
- Although RosetteSep™ has been optimized for use with whole blood, cells can be enriched from other sources (i.e. buffy coat) provided that RBCs are present at a ratio of at least 100 RBCs per nucleated cell. The concentration of nucleated cells in the sample should not exceed 5 x 10⁷ cells/mL. To learn how to prepare a buffy coat from whole blood, please refer to our protocol and associated video.
Determining Cell Counts & Cell Recovery
Counting Viable vs. Total Nucleated Cells (TNCs)
Researchers generally use Trypan Blue to determine both the number of TNCs and viable cells. However, using Trypan Blue for samples containing red blood cells (RBCs) makes it difficult to distinguish between nucleated cells and RBCs. We recommend using 3% Acetic Acid with Methylene Blue (Catalog #07060) instead, which lyses both red and white blood cell membranes. The remaining nuclei will stain lightly with a blue color. Since mature red blood cells do not have nuclei, this will allow you to exclusively count the white blood cells. For more details on cell counting, please see our protocol and associated video.
Assessing Cell Recovery
- Determine the number of TNCs and assess the viability of the starting sample before proceeding with your cell isolation.
- IMPORTANT: To assess cell recovery, the TNCs need to be counted in both the starting sample and isolated fraction. See the How to Calculate Recovery & Purity from Cell Isolation Procedures section for more information.

How to Count Cells with a Hemocytometer
This video outlines how to prepare and count stained cell samples using a hemocytometer.
Critical Steps for Successful Cell Isolation with RosetteSep™
Selecting Buffers and Density Gradient Medium
For optimal cell isolation, select a medium from the “Recommended Medium” section of the PIS. The recommended medium will typically consist of Dulbecco’s Phosphate Buffered Saline (D-PBS) containing 2% fetal bovine serum (Catalog #07905). Always refer to the PIS for further details.
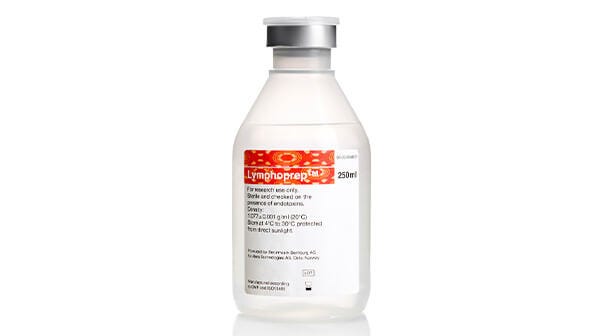
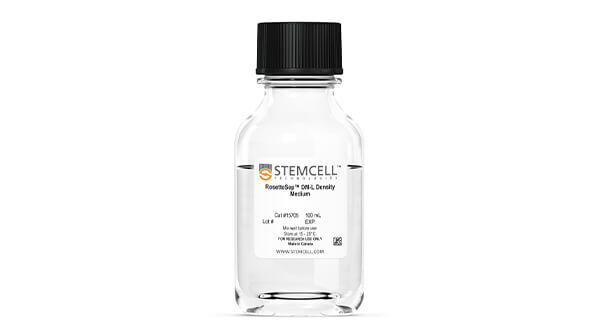
For optimal cell isolation, we recommend selecting a density gradient medium from the “Density Gradient Medium” section of the PIS. The table below summarizes density gradient media compatibility with RosetteSep™ cocktails.
- RosetteSep™ Human T Cell Enrichment Cocktail (Catalog #15021)
- RosetteSep™ Human CD4+ T Cell Enrichment Cocktail (Catalog #15022)
- RosetteSep™ Human CD8+ T Cell Enrichment Cocktail (Catalog #15023)
- RosetteSep™ Human B Cell Enrichment Cocktail (Catalog #15024)
- RosetteSep™ Human Total Lymphocyte Enrichment Cocktail (Catalog #15223)
- RosetteSep™ HLA Lymphoid Cell Enrichment Kit (Catalog #15271HLA)
- RosetteSep™ HLA Myeloid Cell Enrichment Kit (Catalog #15272HLA)
Preparing RosetteSep™ Reagents Before Use
- RosetteSep™ cocktails should NOT be vortexed.
- Ensure that the sample, density gradient media, dilution buffer, and centrifuge are at room temperature. IMPORTANT: The separation won’t be as efficient if performed at 4°C.
How to Add & Mix RosetteSep™ Reagents
- Refer to the PIS and verify the reagent’s recommended concentration. IMPORTANT: Using a lower amount of reagent may result in lower purity.
- When adding RosetteSep™ cocktails to your sample, ensure that the end of the pipette tip goes into the liquid. Then, pipette up and down 2 - 3 times to make sure the entire volume has been released.
- When mixing the sample after adding either a reagent or buffer, use a serological pipette to gently pipette up and down 2 - 3 times and mix well.
Layering Your Blood Sample Over Density Gradient Media
- If using standard 50 mL tubes, gently layer the diluted sample on top of the density gradient medium and try to minimize mixing the two layers as much as possible. Watch this video to learn how to isolate PBMCs from whole blood using density gradient medium, and see how to properly layer a sample.
- If using SepMate™ tubes, pour or pipette the diluted sample into the tube. Watch this video to learn how to use SepMate™ tubes to isolate cells, and see how to add the density medium and sample to a SepMate™ tube.
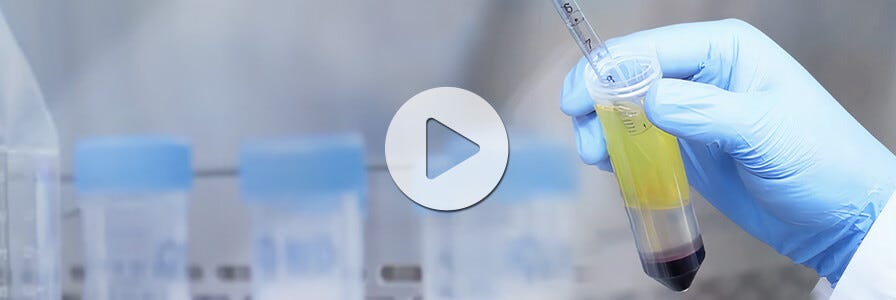
How to Isolate PBMCs from Whole Blood Using Density Gradient Centrifugation (Ficoll™ or Lymphoprep™)

Incubation Time & Centrifugation Settings
Stick to the incubation time and centrifugation settings described in the corresponding PIS.
IMPORTANT: Deviation from these parameters may lead to suboptimal performance.
Cell Collection
- If using standard 50 mL tubes, harvest the enriched cell layer with a pipette and transfer to a new tube. Remove all the cells at the interface between the plasma and the density gradient without disturbing the RBC/granulocyte pellet. It is okay to take some of the density gradient medium; it will be washed out in subsequent steps, and harvesting some of the medium at this stage may help improve cell recovery.
- If using SepMate™ tubes, pour supernatant into a new standard tube.
How to Calculate Recovery & Purity from Cell Isolation Procedures
Cell isolation performance can be determined through the assessment of cell recovery and purity. To assess performance, you will need to set aside two samples for comparison: (1) starting sample vs. (2) isolated fraction. Briefly, aliquot a small portion (≤ 1 mL) from your starting sample, right before performing cell isolation; and another from your final sample, after isolating your cells. Read the tech tip below to learn how to assess cell isolation performance and measure both cell recovery and purity.

How to Calculate Purity and Recovery Following Cell Isolation
You should now be ready to start your cell isolation experiment! If you have any questions, contact us at techsupport@stemcell.com.
Request Pricing
Thank you for your interest in this product. Please provide us with your contact information and your local representative will contact you with a customized quote. Where appropriate, they can also assist you with a(n):
Estimated delivery time for your area
Product sample or exclusive offer
In-lab demonstration


